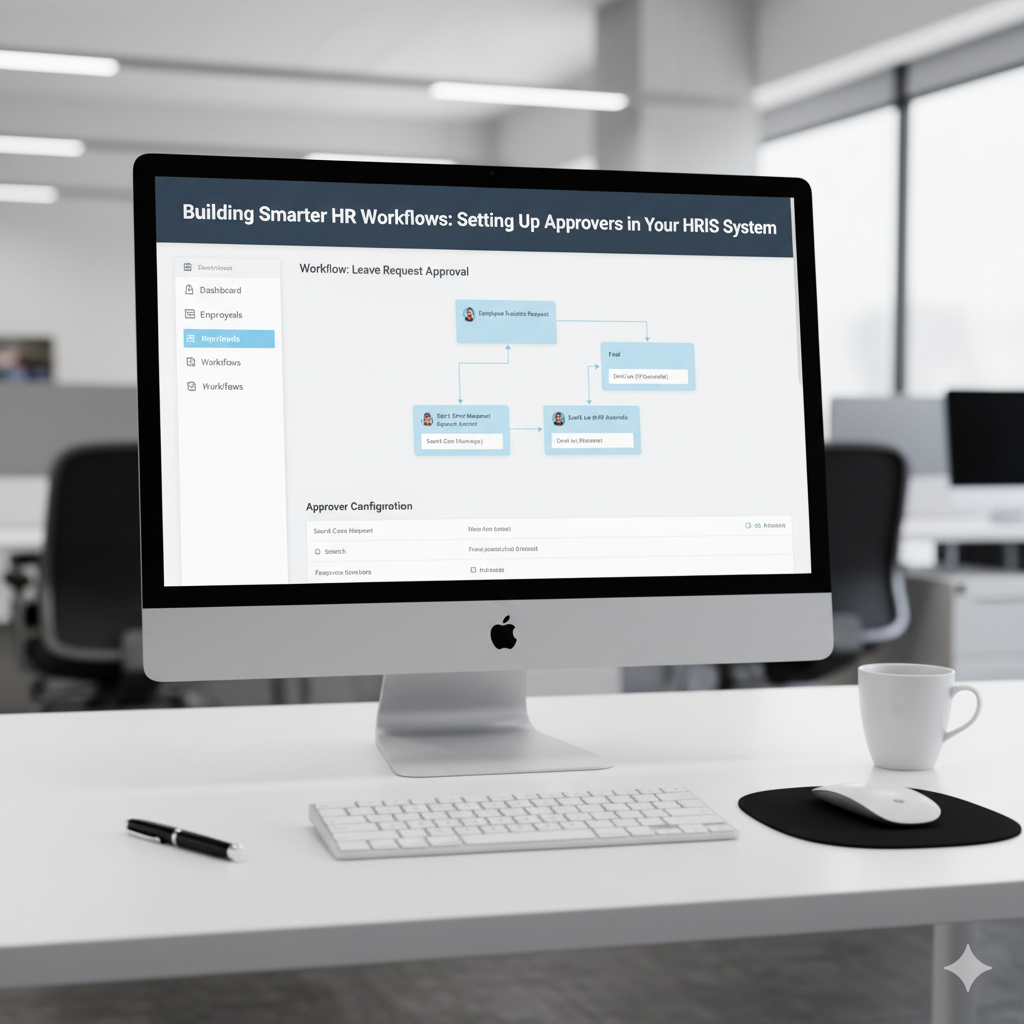
In today’s fast-paced HR environment, manual approval chains can slow down critical processes like leave requests, expense claims, and performance evaluations. That’s why modern organizations rely on HRIS systems (Human Resource Information Systems) with automated approver setups to streamline workflows and eliminate bottlenecks.
This guide will help you understand how to configure approvers in your HRIS system, choose the right HR tools, and build smarter, automated HR workflows that save time and improve accuracy.
Why Approver Setup Matters in HRIS
Approvers are the people responsible for validating transactions, requests, or updates within HR workflows — such as:
- Leave or time-off approvals
- Payroll adjustments
- Employee data changes
- Expense reimbursements
- Performance review sign-offs
Without a well-defined approver structure, HR tasks can easily stall or result in inconsistent decision-making. Configuring approvers correctly in your HRIS ensures:
✅ Consistency — every request follows the same approval hierarchy.
⚡ Efficiency — approvals happen faster, with fewer manual follow-ups.
🧾 Compliance — all actions are logged for audit and governance.
💬 Transparency — employees know exactly who approves what.
How HRIS Systems Handle Approvers
Most HRIS platforms (such as SAP SuccessFactors, Workday, Oracle HCM, and BambooHR) include configurable approval workflows. These workflows define:
- The sequence of approvers (e.g., line manager → HR → finance).
- The rules for escalation and delegation.
- The conditions under which approvals are auto-granted or routed.
The goal is to create a dynamic, rule-based approval system that adapts to your organization’s structure and policies.
Step-by-Step Guide: Setting Up Approvers in Your HRIS System
Step 1: Map Your Approval Hierarchy
Before touching the system, outline your organization’s approval process:
- Who approves what (manager, HR, finance)?
- Are there exceptions (e.g., senior management or special roles)?
- What’s the fallback if an approver is unavailable?
This approval map forms the foundation for your HRIS configuration.
Step 2: Configure Roles and Permissions
Access your HRIS administrator settings to assign roles such as:
- Primary Approver – usually the direct manager.
- Secondary Approver – for escalation or absence handling.
- HR Admin Approver – for compliance or special cases.
Set permission levels carefully to ensure users can approve only relevant workflows.
Step 3: Define Workflow Rules
Every HRIS allows you to define workflow conditions — for example:
- “If a leave request exceeds 10 days, route to HR Director.”
- “If an expense claim is over $500, require CFO approval.”
These rule-based triggers ensure accurate and automated routing without HR intervention.
Step 4: Integrate with Core HR Modules
Link your approval setup with:
- Time and Attendance — for leave requests and overtime approvals.
- Payroll — for pay adjustments and bonus approvals.
- Recruitment and Onboarding — for offer letter and position change approvals.
This integration ensures all HR processes flow seamlessly between modules.
Step 5: Test the Workflow
Before deployment, run test transactions for various roles and scenarios:
- Regular employee requests
- Manager escalations
- Delegated approvals
- Error handling (e.g., missing approver)
Testing ensures that every rule functions as intended and no requests get “stuck” mid-process.
Step 6: Communicate and Train Users
Once your workflow is live:
- Publish approver flowcharts or quick reference guides.
- Train employees and managers on how to submit and approve requests.
- Highlight features like auto-reminders, delegation, and approval tracking.
Highlight features like auto-reminders, delegation, and approval tracking.
Effective communication reduces confusion and ensures smooth adoption.
Common Mistakes to Avoid
❌ Creating approval hierarchies that are too complex.
❌ Failing to define backup approvers for absences.
❌ Ignoring system notifications and reminders.
❌ Not updating approver configurations after role changes or promotions.
Keeping workflows simple, logical, and up-to-date ensures maximum efficiency.
Best Practices for Smarter HR Workflows
- Keep Approver Levels Minimal: Two or three levels are usually sufficient.
- Use Automation Triggers: Automate routine approvals (e.g., standard leave).
- Regularly Audit Workflows: Review logs and metrics to find bottlenecks.
- Set Escalation Rules: Prevent stalled requests due to inactive approvers.
- Leverage Analytics: Track approval turnaround times to improve performance.
By continuously refining your HRIS approval setup, you can turn approval workflows into a strategic advantage for your HR operations.
Benefits of Automating Approver Setup in HRIS
When you configure approvers efficiently, your HRIS system delivers:
🚀 Faster turnaround times on HR requests
✅ Improved compliance and traceability
💼 Reduced manual HR workload
🔄 Better cross-department collaboration
📊 Real-time insights into workflow performance
Automation doesn’t just simplify processes — it transforms the way HR delivers value to the organization.
Conclusion
Building smarter HR workflows starts with an efficient approver setup in your HRIS system. By clearly defining approval hierarchies, leveraging automation tools, and maintaining clean configurations, HR teams can ensure accuracy, transparency, and speed across every process.
A well-configured HRIS isn’t just a database — it’s the backbone of modern HR operations.
Take the time to set it up right, and your organization will benefit from faster approvals, happier employees, and seamless compliance.

